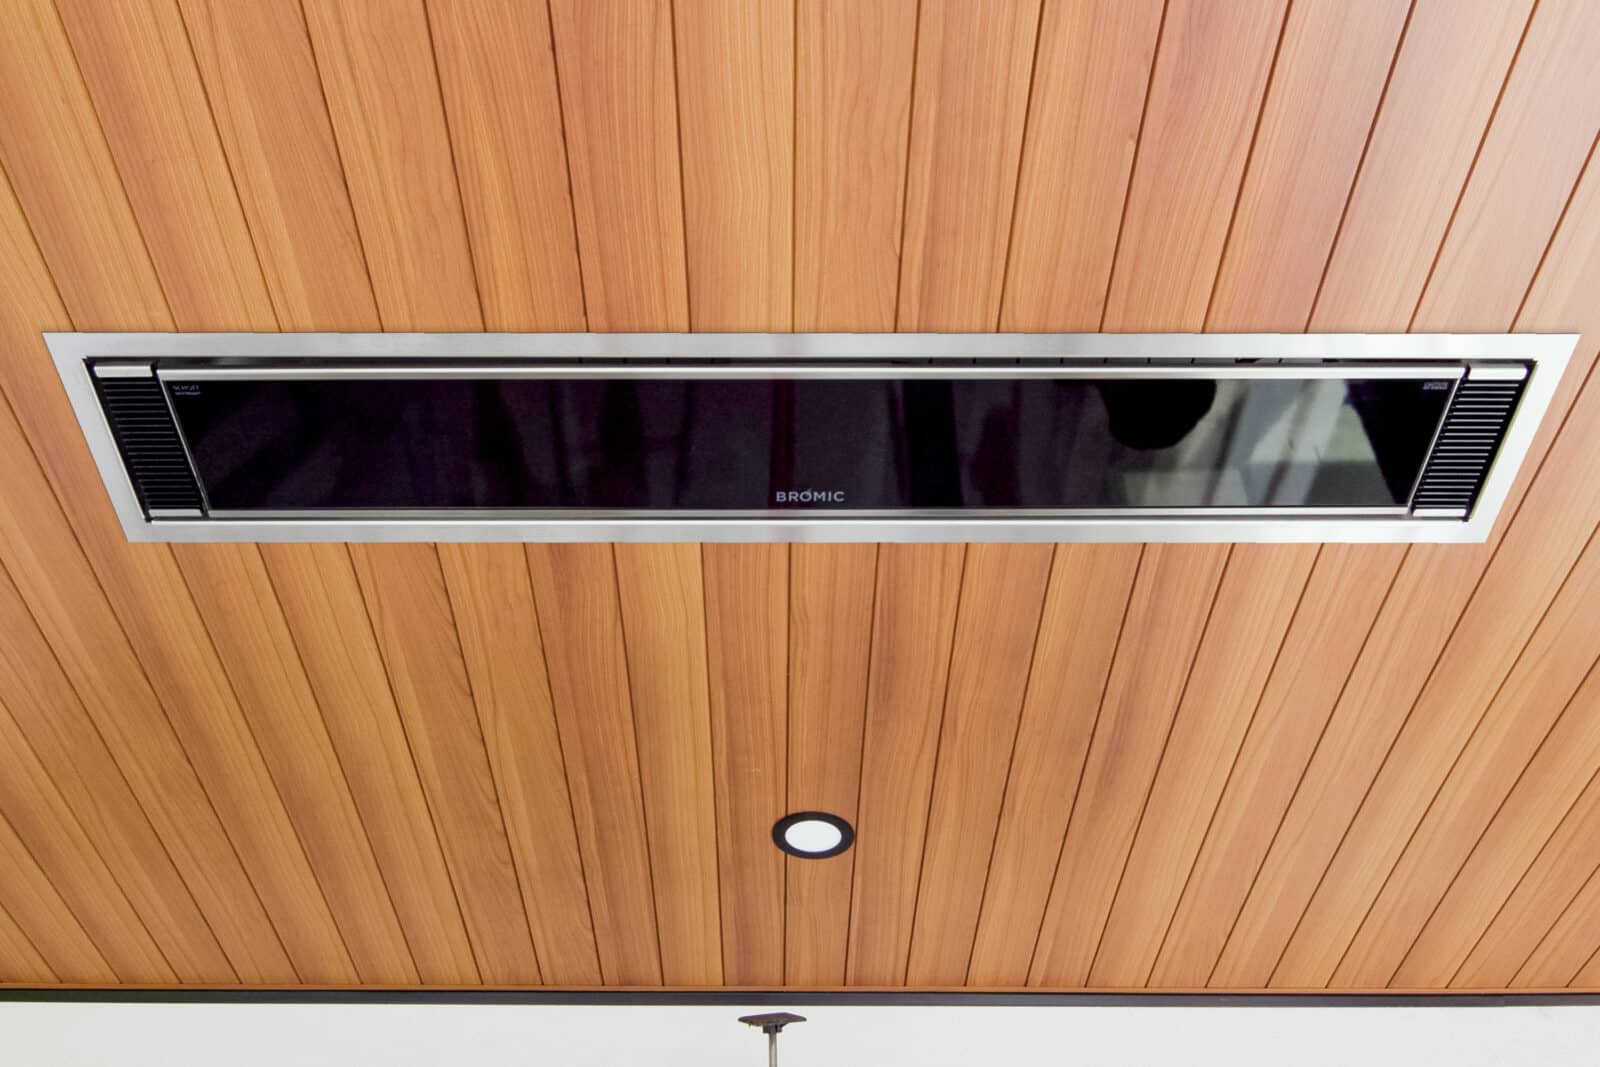
Looking to add recessed electric heaters to your outdoor project? Look no further than the Low Clearance Recess Kit by Bromic! Designed to fit seamlessly into standard ceiling joists with a reduced cavity installation clearance of as low as 7.1”, the new recess kit makes it even easier to incorporate outdoor recessed electric heaters within remodels as well as new builds.
The Step by Step Guide to Installing the Low Clearance Recess Kit
In order to properly install the recessed electric heaters requires referring to the Low Clearance Recess Kit Installation Manual located on Bromic’s website, or following the step-by-step guide below. As noted in the manual, installation must be carried out by a licensed and authorized technician in accordance with local electric codes.
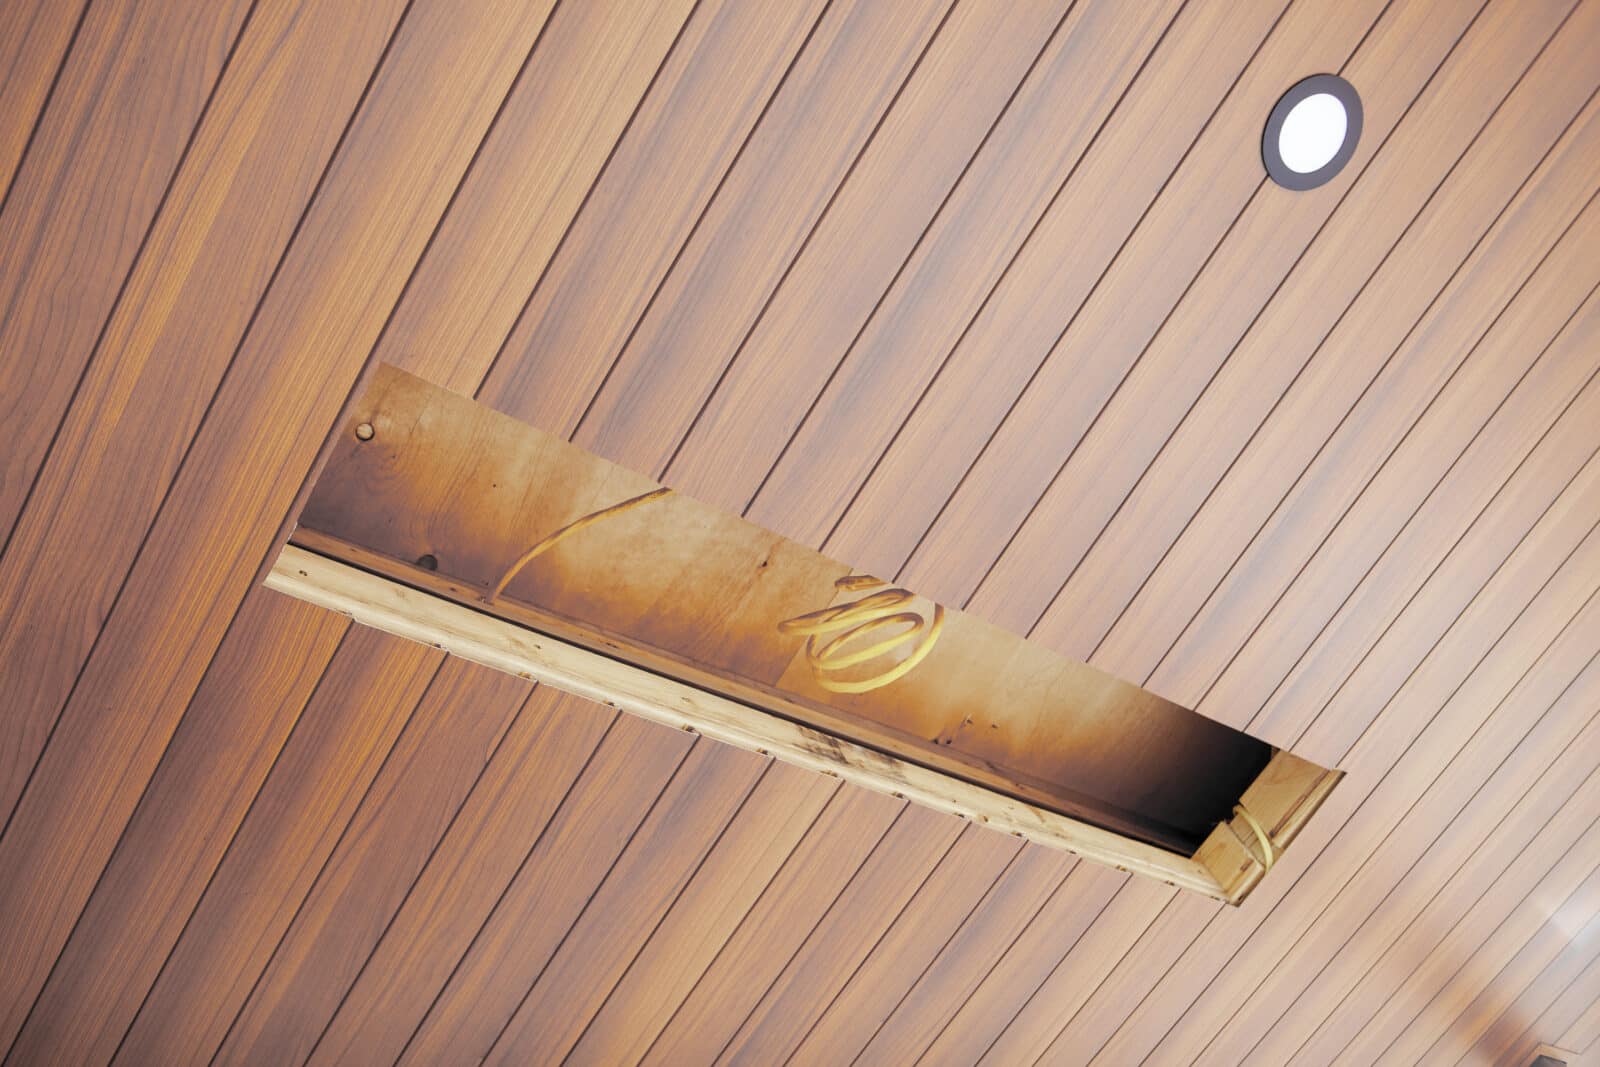
To prepare for the installation, create the ceiling cutout according to the proper clearance cavity requirements. For the 2300W Platinum Electric Heater, the ceiling cutout length must be 39.2”, the ceiling cutout width must be 9.4”, and the ceiling cutout height must be 7.1”. For the 3400W Platinum Electric heater, the ceiling cutout length must be 56.3”, the ceiling cutout width must be 9.4”, and the ceiling cutout height must be 7.1”. For the 4500W Platinum Electric heater, the ceiling cutout length must be 61.0”, the ceiling cutout width must be 12.4”, and the ceiling cutout height must be 7.1”. Clearance from combustibles includes being at least 94” above the finished floor and at least 19.7” minimum wall clearance from the wall.
Then, remove the Low Clearance Ceiling Recess Box from its packaging and separate the Trim Assembly from the Ceiling Recess Box. Set aside for later use.
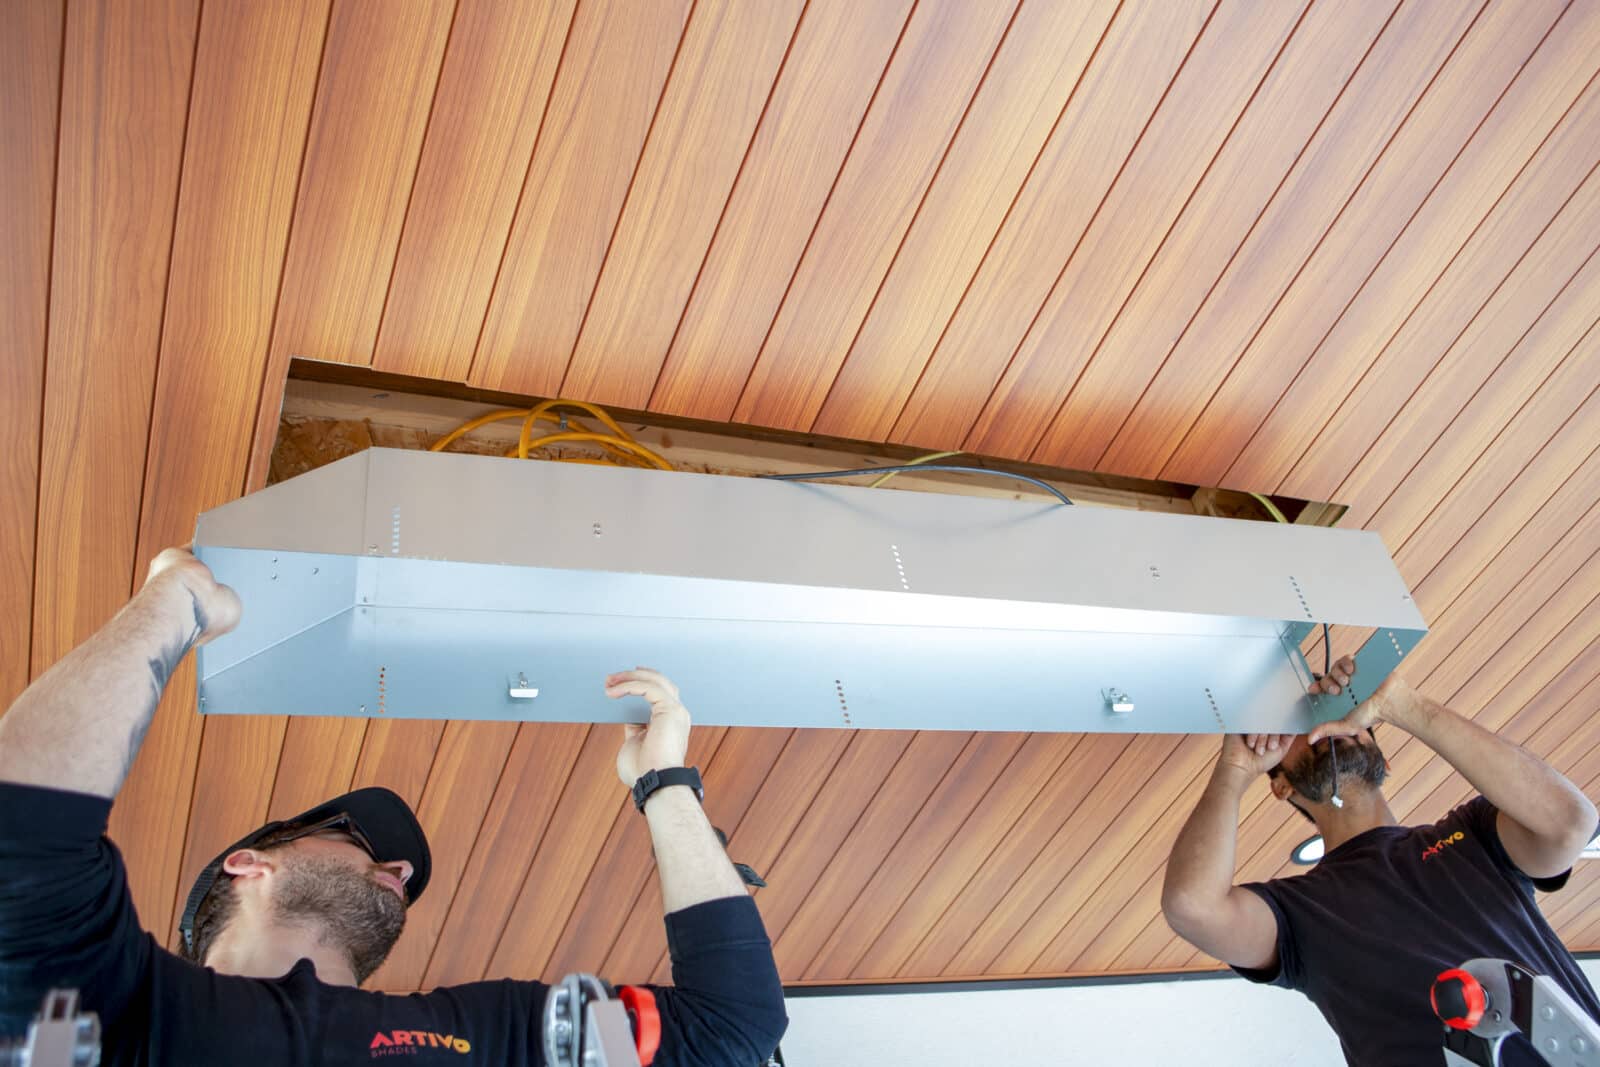
Step 1: Elevate the Ceiling Recess Box towards the pre-cut ceiling cavity. Feed the wires through the end opening of the Ceiling Recess Box. Then, install into the ceiling cavity.
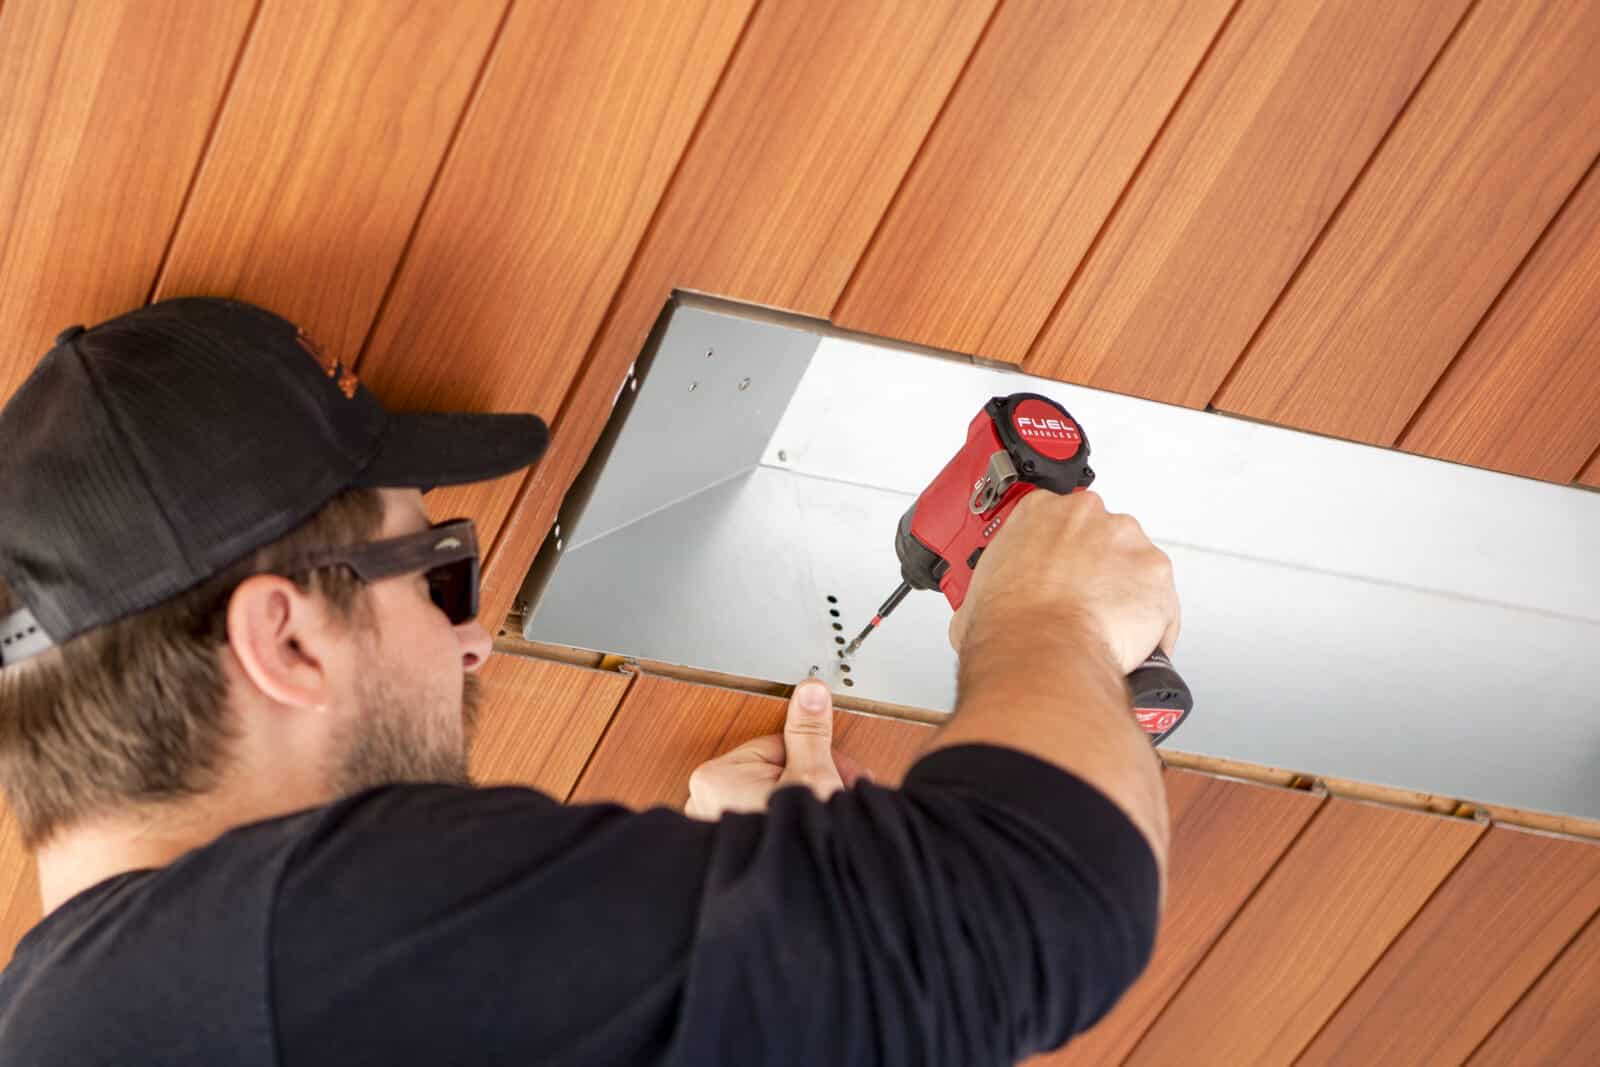
Step 2: Fasten the Ceiling Recess Box into the ceiling joists along the long edge of the box. Fasteners are note included.
Step 3: Select the Vent Cover based on the color of the Platinum Electric heater that is being installed.
Step 4: Place the Trim that was previously set aside on a safe surface to attach the Vent Covers. Then, remove the protective plastic completely from the Trum so that the stainless steel is showing.
Step 5: Remove the Platinum Electric heater from its box.
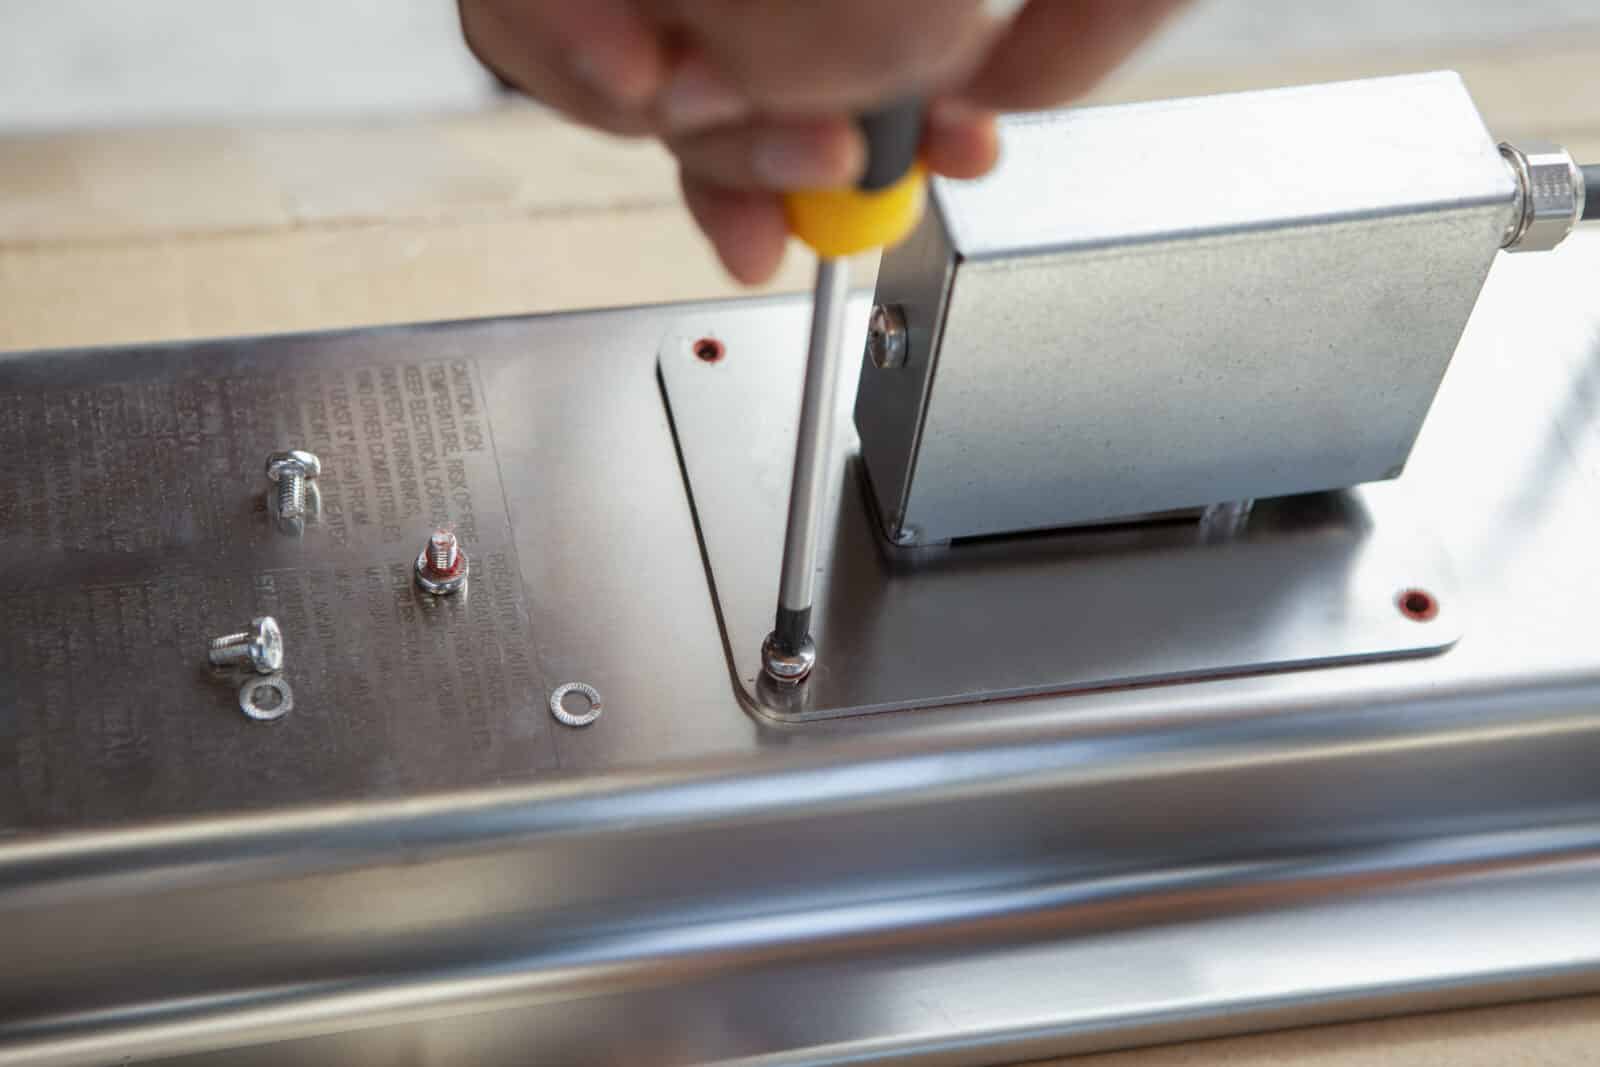
Step 6: Prepare the Heater for assembly by removing the screws from the Rear Cable Housing. Then, remove the Housing altogether, placing the screws aside for later use.
Step 7: Remove all four screws from the Rear Bracket of the Heater, placing the screws aside for later use.
Step 8: Thread the Heater Cable through the center of the Trim Assembly, then lower the Trim Assembly onto the back of the Heater. Then screw the Trim Assembly onto the back of the Heater, using the screws previously set aside.
Step 9: Feed the Heater Cable though the IP Cover and Cable Gland and attach the IP Bracket to the Heater using the M6x10mm screw. When in location, ensure the M16 Cable Gland is fastened using a 20mm (13/16”) spanner.
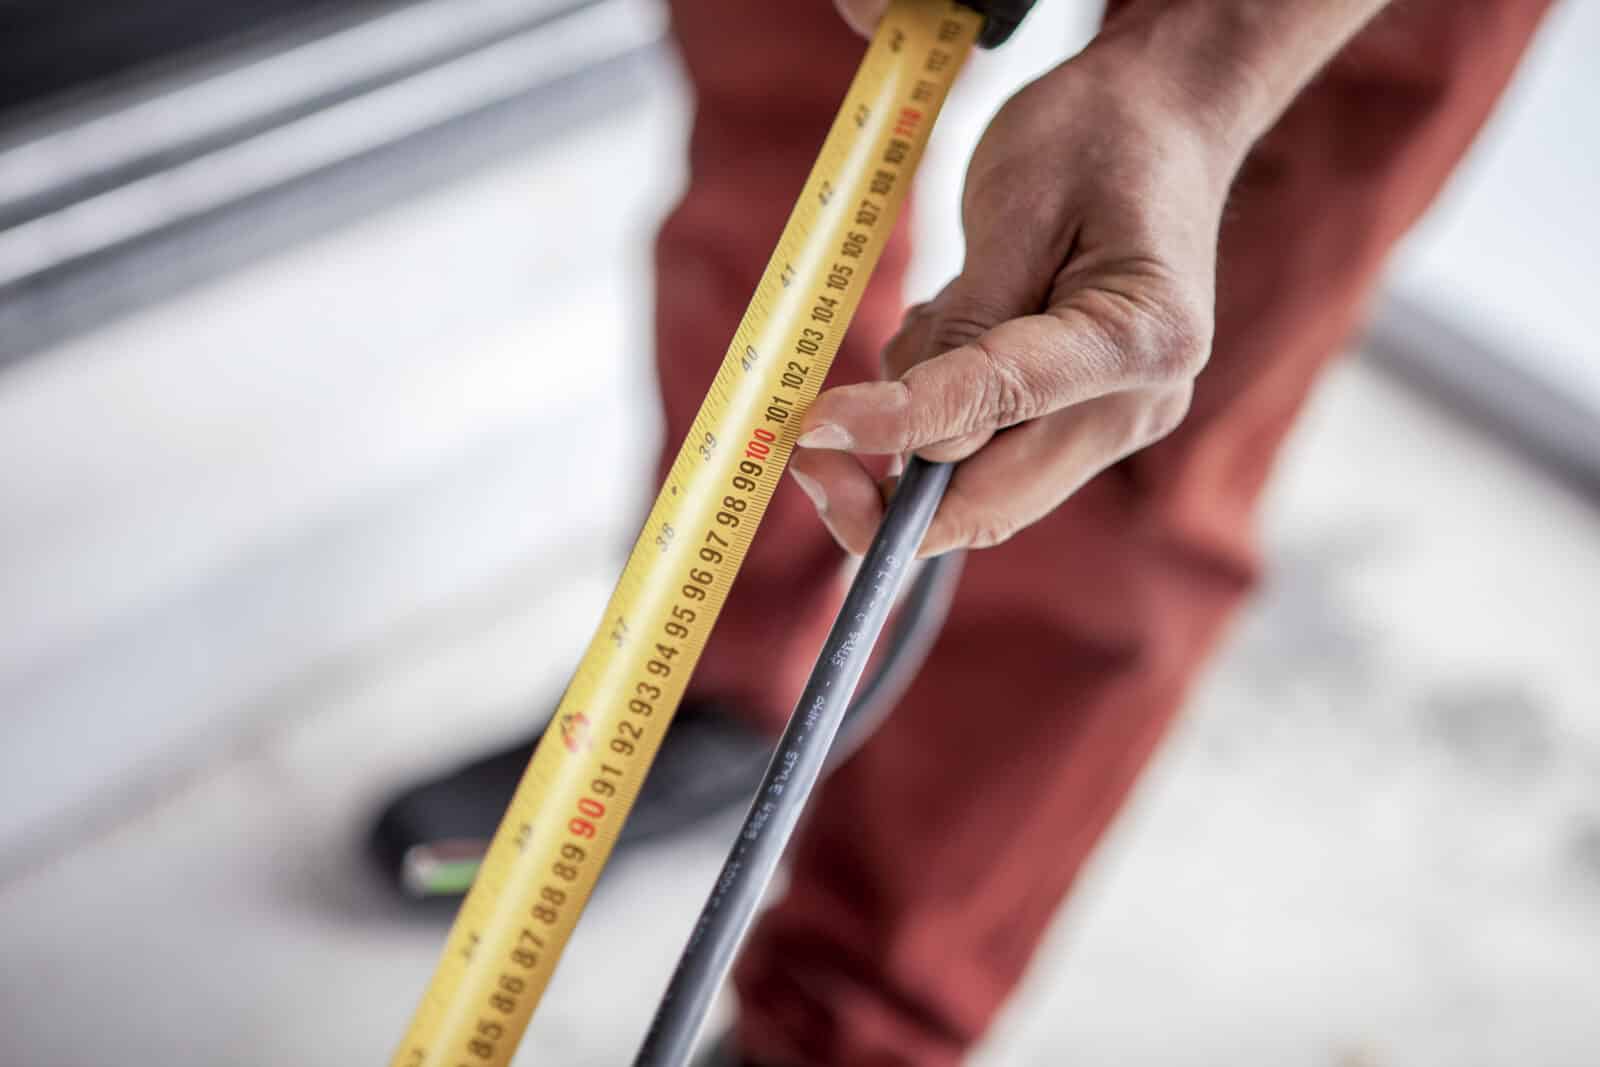
Step 10: Cut down the Heater Cable no shorter than 31.5” (800mm) for the 2400W unit, or 39.3” (1000mm) for the 3400W unit measured from the Cable Gland.
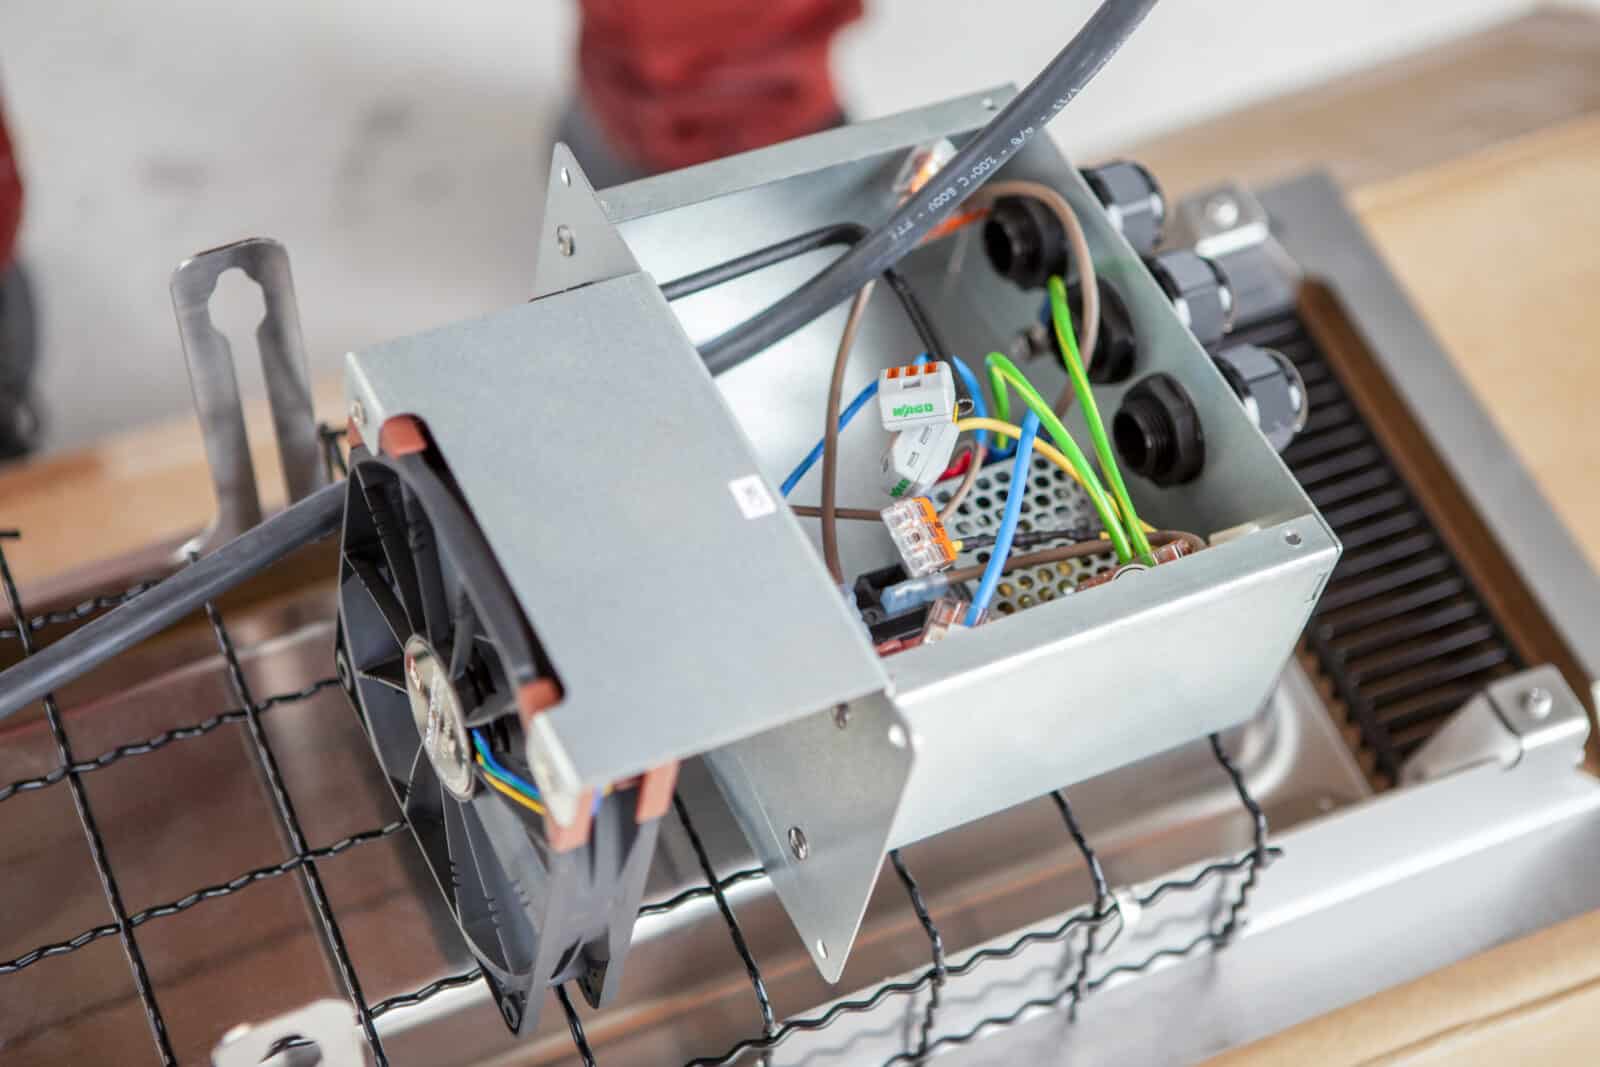
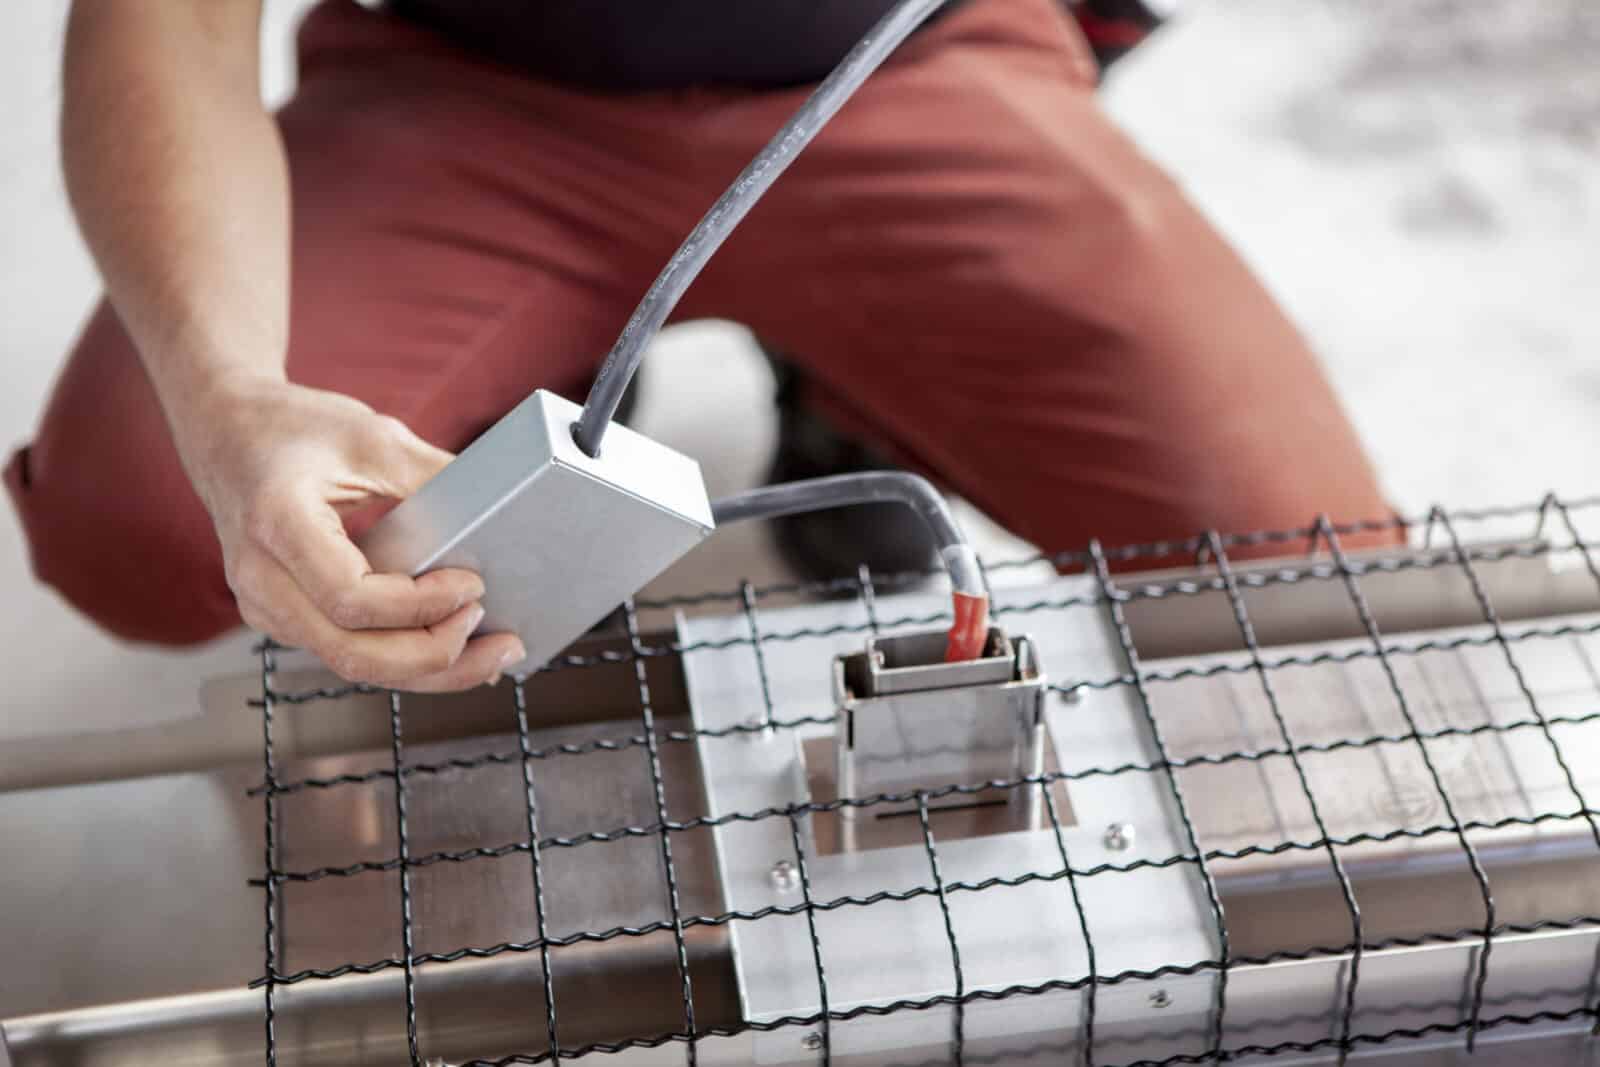
Step 11: Remove the Terminal Box from its packaging, then unscrew the cover to open the Terminal Box, setting the cover aside.
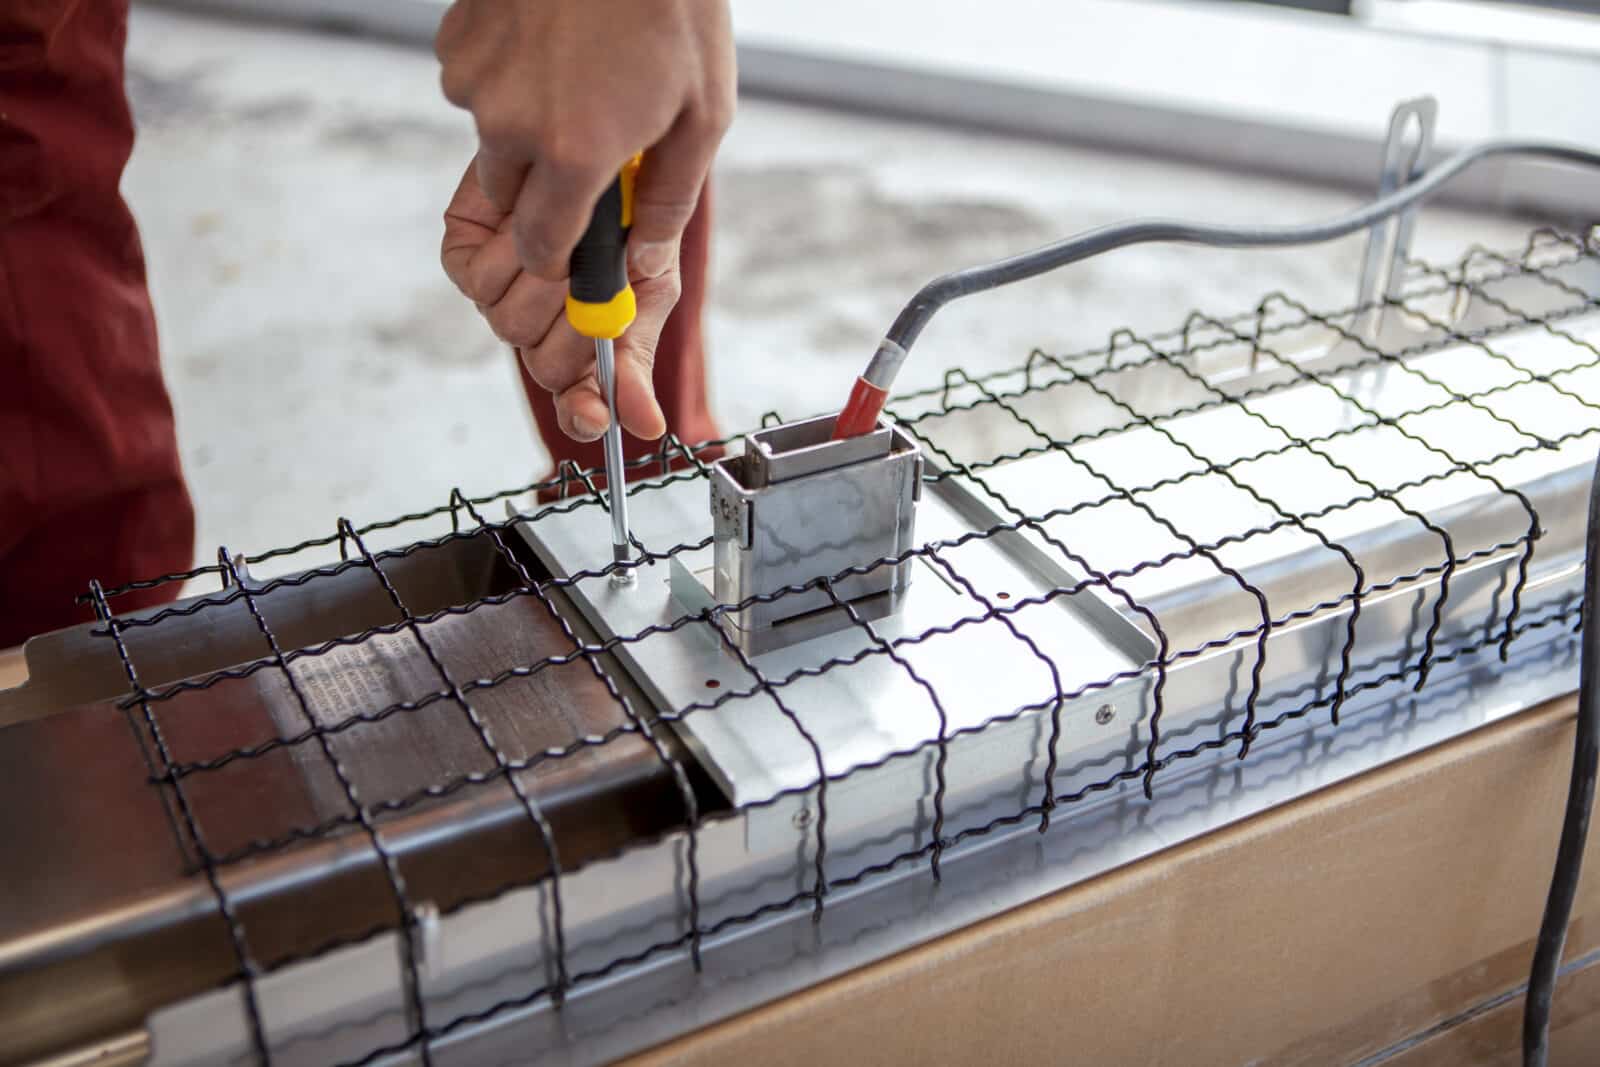
Step 12: Feed the Heater Cable through the lower M16 Cable Gland located on the Terminal Box. Ensure that the Cable Gland is tightened, then rest the Terminal Box on the back of the heater.
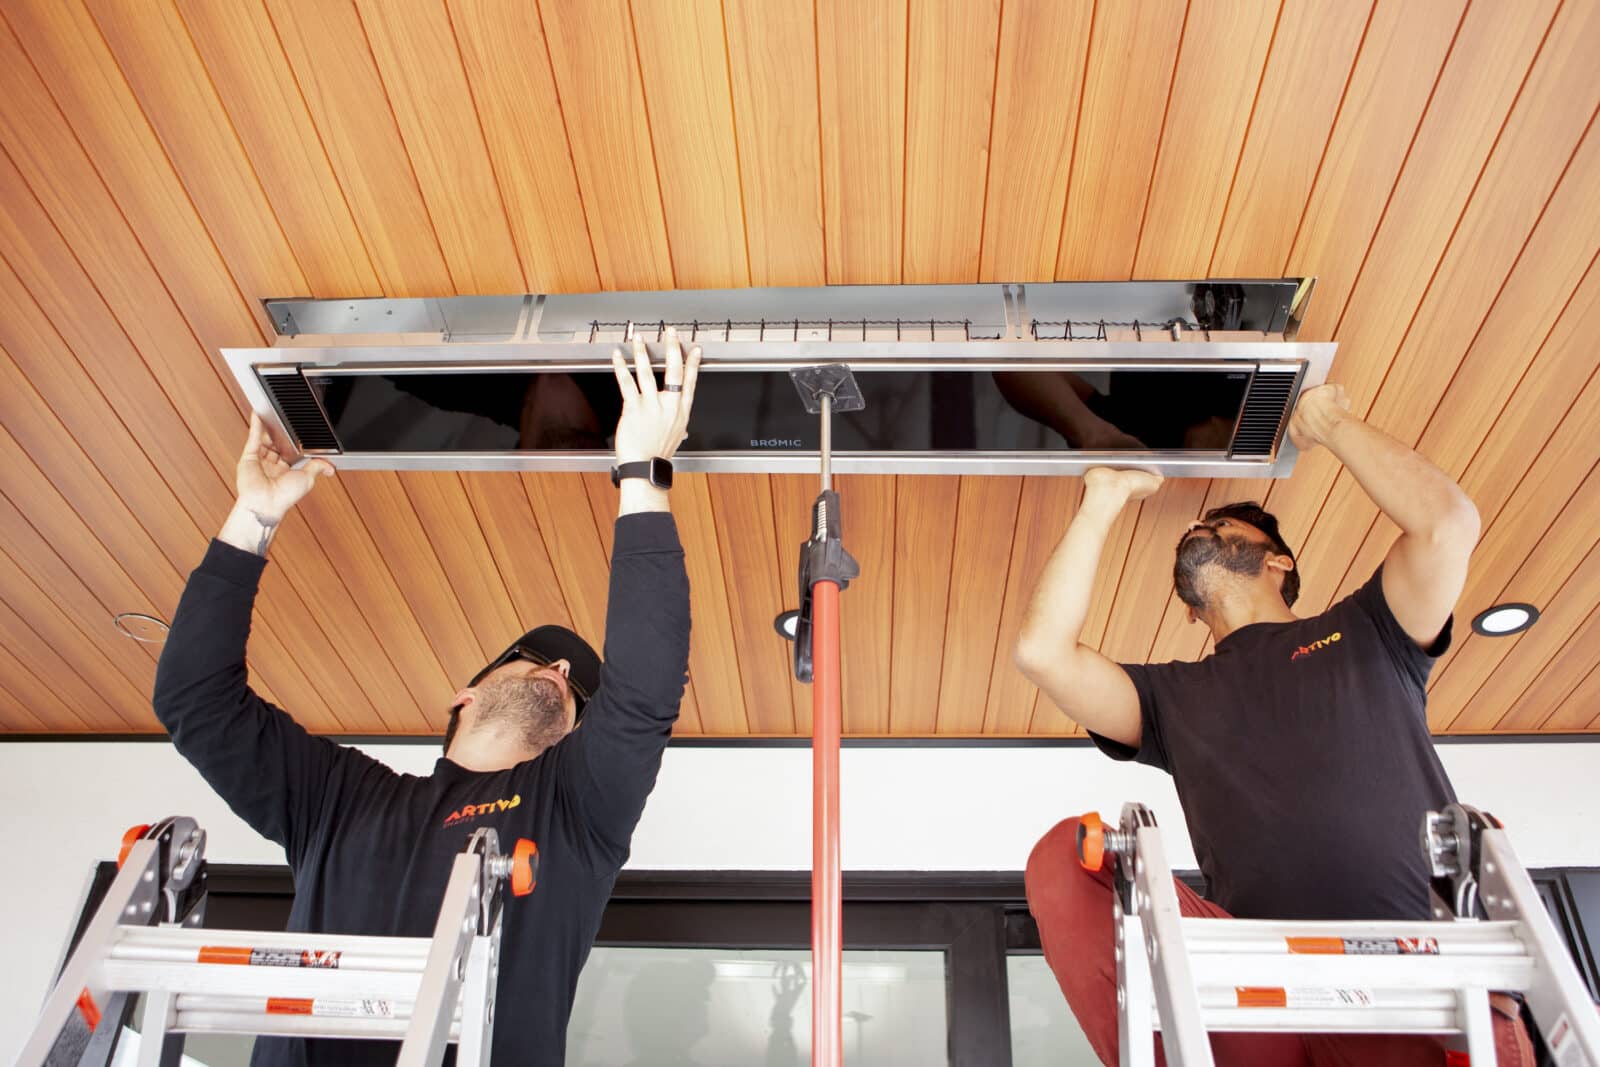
Step 13: Using two people, raise the heater towards the ceiling cavity. Hook the Mounting Tab to the bolts located within the Ceiling Recess Box on the opposite of the Terminal Box.
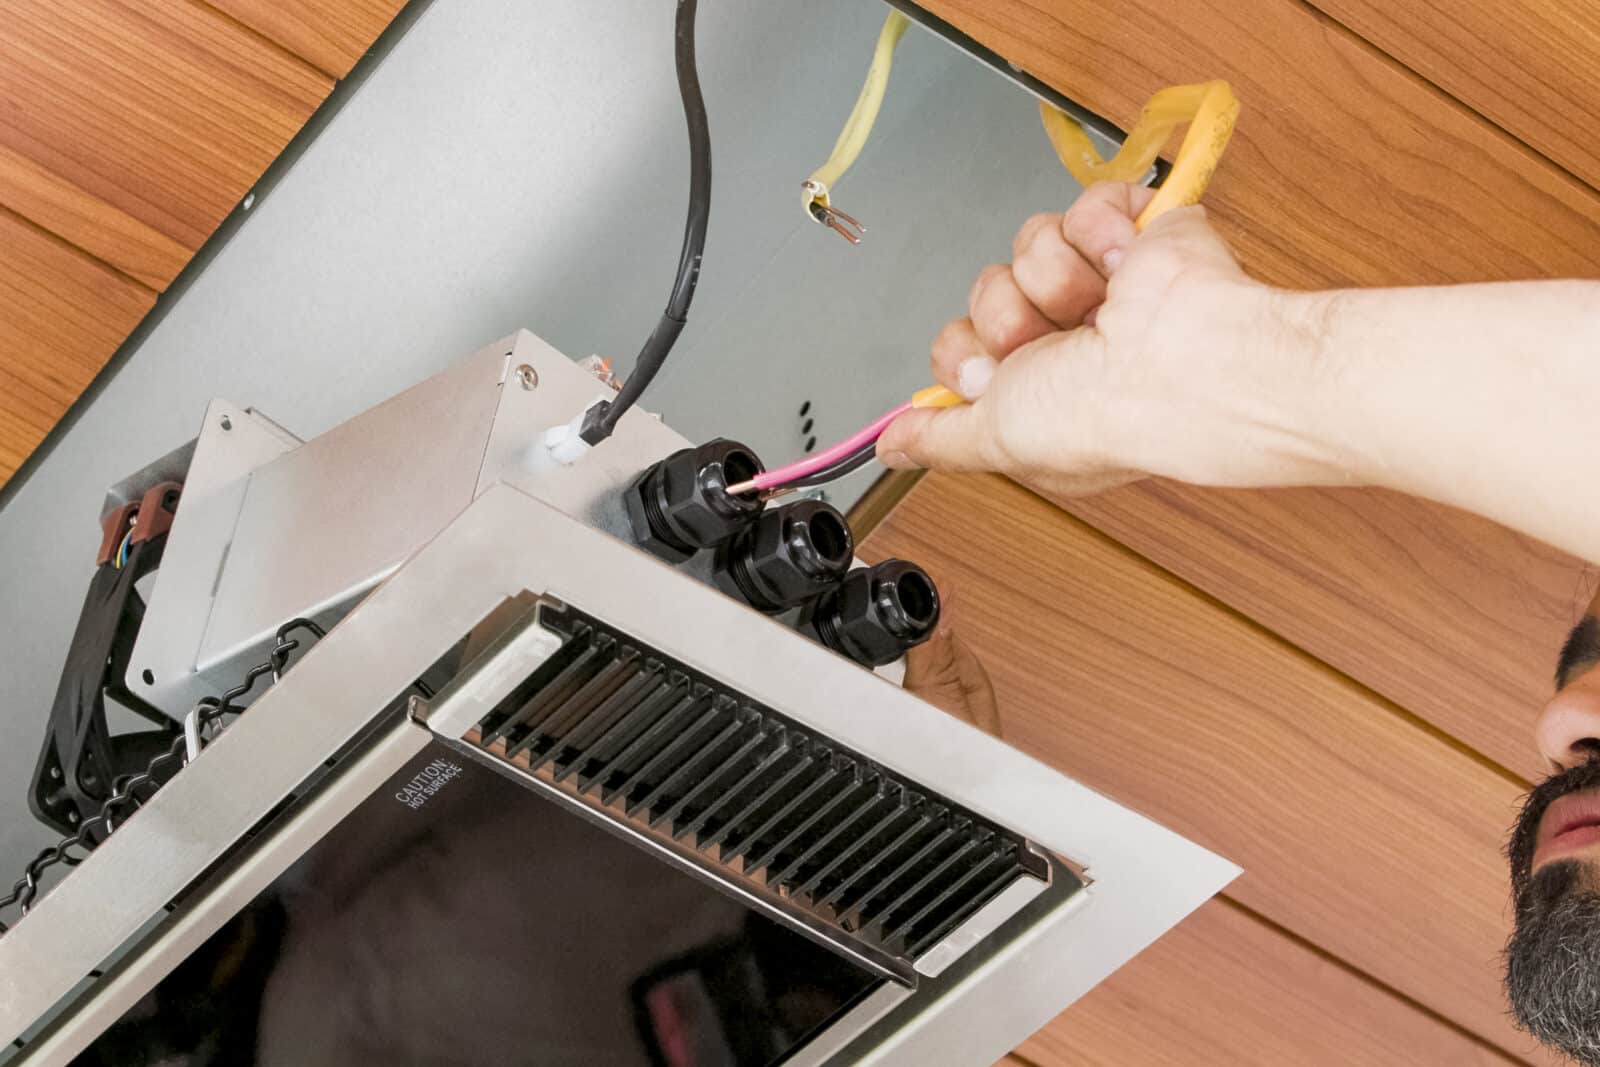
Step 14: Prepare and feed the Power Source (and Control Cables if applicable) from the cutout in the Ceiling Recess Box, through the Terminal Box.
NOTE: Wiring Instructions for one of two heaters is provided within the Installation Guide. For further wiring support, contact Bromic’s Technical Support team.
Step 15: Refasten the cover of the Terminal Box using the original screws and insert the Terminal Box into the slot at the end of the Ceiling Recess Box and fasten with screws.
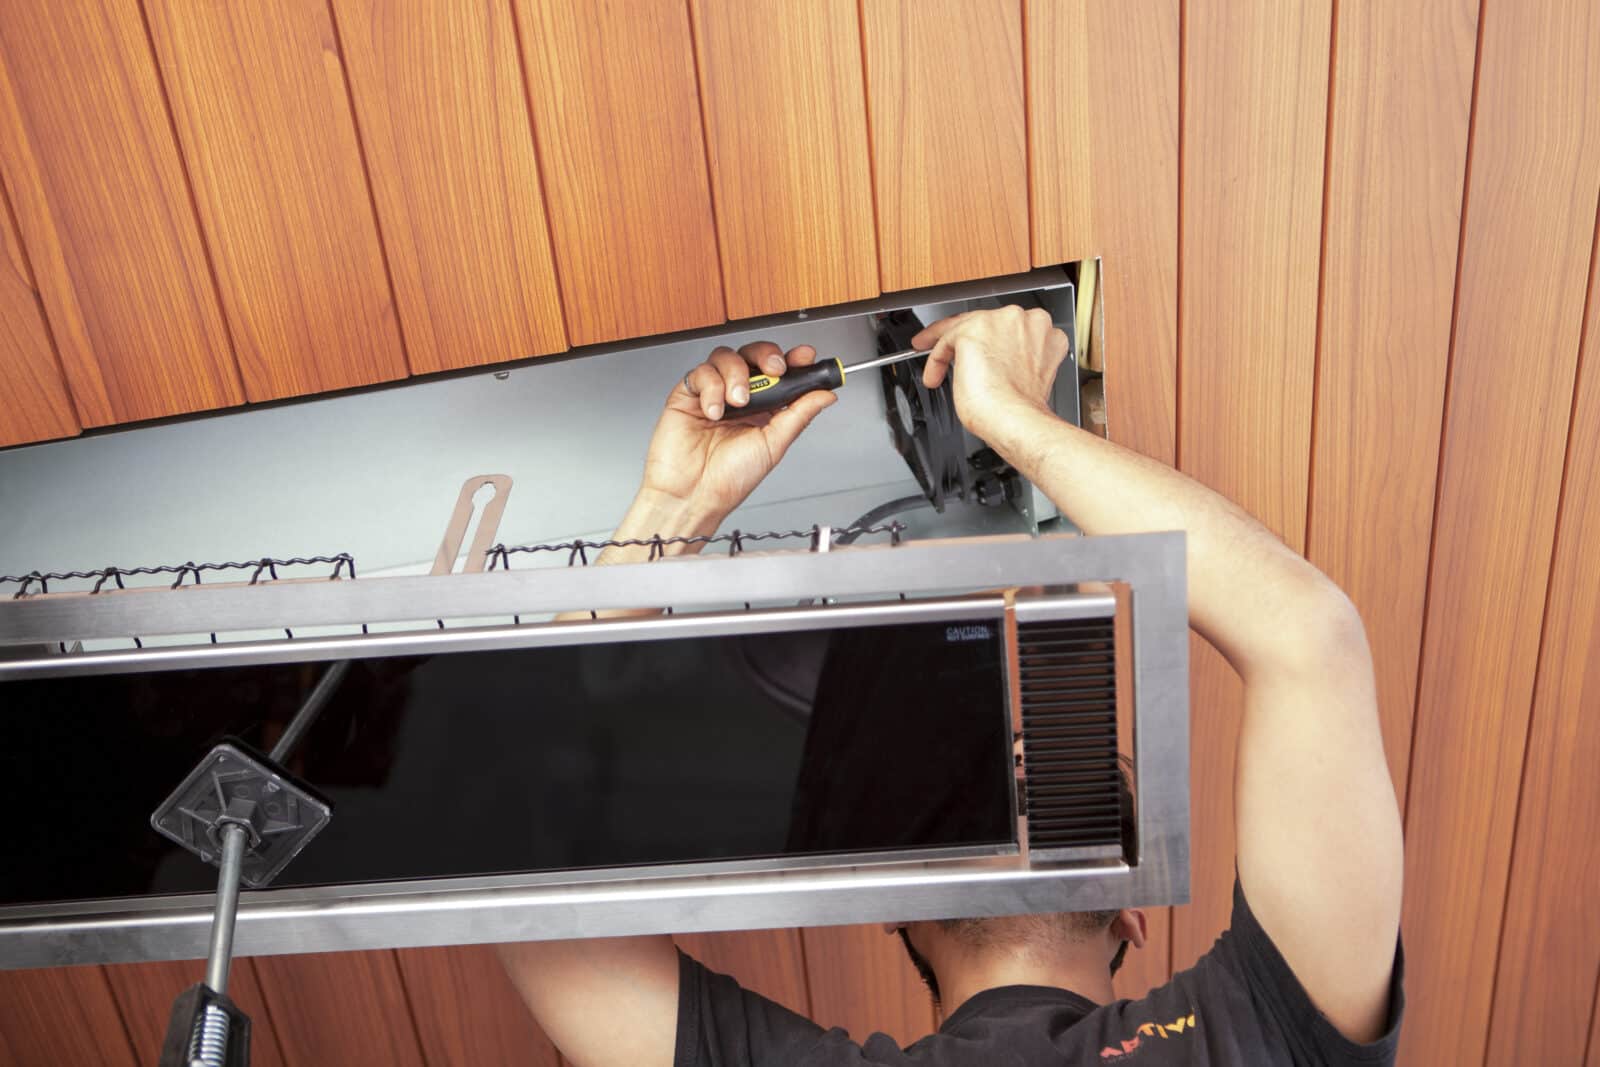
Step 16: Raise the side of the Heater closest to the Terminal Box to hook the remaining Mounting Tabs to the respective bolts.
Step 17: Raise the entire heater into the cavity and tighten the bolts on the Mounting Tabs using a 8mm (5-16”) spanner to secure the heater in place so it’s flush with the Trim.

Once you’ve finished installing the heater within the Low Clearance Recess Kit, use a microfiber cloth and gently wipe the heater to remove any fingerprints from the installation. Now, step back and realize that you just installed a recessed outdoor heater in under 20 steps!
Ready to Add Recessed Outdoor Heating to Your Project?
Bromic’s complimentary Design Service allows you to work with a heating expert to prepare a personalized heat plan for your outdoor space. After reviewing photos, plans, and renderings of your space, they will recommend the best and most efficient solution for your specific needs. This level of customization ensures that you get the most out of your outdoor heating system and that it meets your exact requirements.